
The finished deck. Concrete pad was also poured by me.


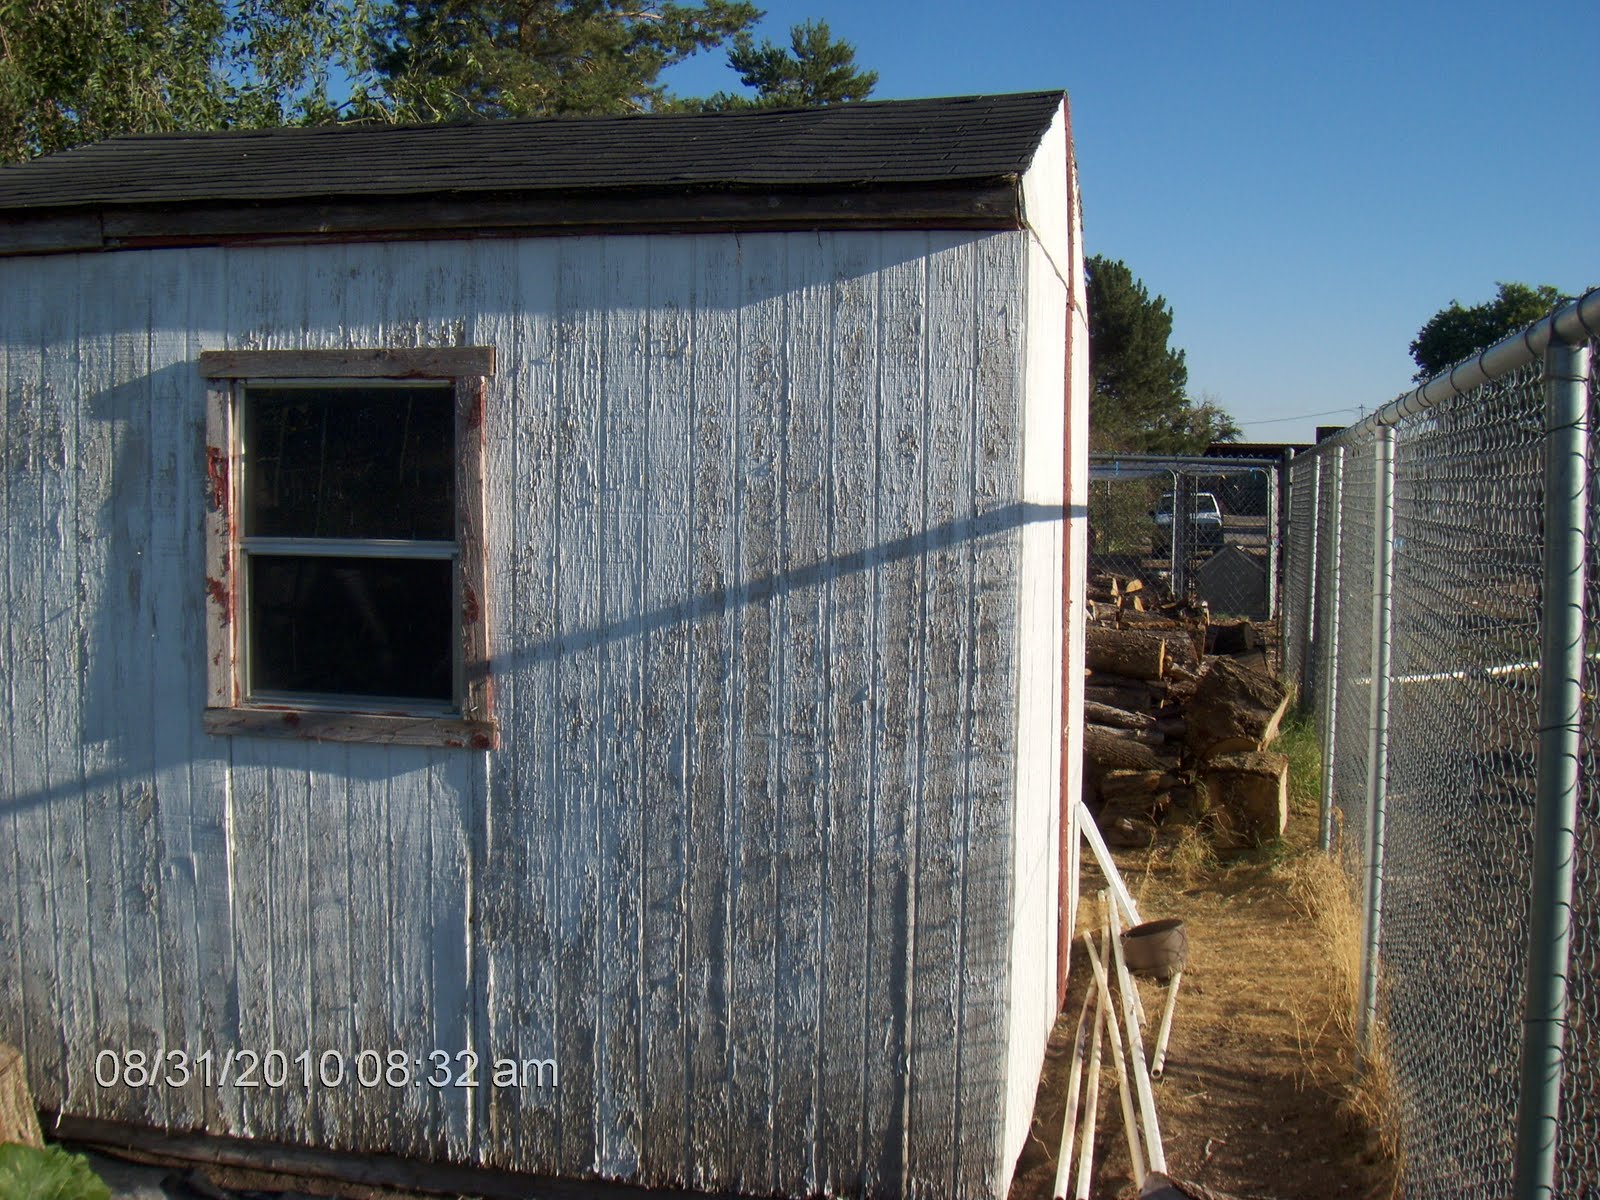
 Before pictures of garage (right side)
 Before pictures of garage (right upper side)
 Photo of support wall being constructed (right side)
 Another photo of support wall being built
 Another photo of upper level nearing completion
 Upper second level
 Photo of nearly finished upper level. Walls are in process of being built (framed in) and also will soon be sheet - rocked, and electrical is run for extra lighting. Steps are also in process of being built.


 After: the space was framed in and enclosed with sheet rock to create a closet space for storage.

 After.

 After photo. The boards were replaced with new and painted red. Also, new front doors. Front view.
 Side view. After.
 A roof - mount swamp cooler was in need of being removed. Before shot.
 Another after shot.


 After - A totally new bath. A new bathtub, tile flooring and new tile surround in the bath was installed. A new bathfan, toilet and cabinetry for storage. Also, a new medicine cabinet, lighting fixtures and doors.
 Before: An entire kitchen remodel was also done. Here are photos of the original 1980's kitchen.
 Before: Here are photos of more angles of the kitchen. This corner served as breakfast nook. Space was very limited and this corner was not very functional. Later pictures will show that this corner was filled with cabinetry for more storage.
 Before: A wall (see behind fridge) seperated the small kitchen space from the living area. In later photos, you will see the wall was torn out and the space between turned into a functional island. It also opened up the living space to the kitchen that helped to give the home a more modern feel.
 Before: This photo shows the demolition of the wall between the kitchen and living area. This was not a support wall.
 Before: Another shot of the demolition of the wall. Part of the wall was left standing in order to become part of the future island.
 Before: More angles of demolition of the wall.

Here is a photo of the island that was added to the portion of standing wall. The island was then tiled and turned into an eating area.


 Af ter: The open concept living room/kitchen
 After: Beautiful new tile, new appliances, and cabinetry.
 After: Another shot of the island where the wall used to stand.
  Before: An outdated and not very functional basement bathroom. The bathroom didn't have a bath tub, only a shower stall. The wall to the left of this photo joined on to master bathroom. The wall would eventually be torn out and opened up to the bathroom - creating not only a master bath - joined to the master bedroom, but a master - suite.
  The shower stall during demolition.
  After: This photo was taken from the newly opened door way to the bathroom (from the master bathroom). New tile was installed, the dated and worn vanity was removed and replaced with more stylish and space - saving pedestal sink. New fixtures, cabinetry and a jetted tub were also installed.
  After: A shot of the jetted tub where the shower stall used to be.
 After: Another angle of the jetted tub.
  Before: An outdated dark and dreary basement. The original wooden beam (above) was not strong enough to support the weight of the upper level, so a support beam was installed. This created an awquard floor plan and it was also later found, upon demolition, that the original beam was not structurally sound. The old wooden beam would later be completely replaced with a steel beam. A new gas fireplace would also be installed.
 Before: Another view of the basement. Just behind the wall where the curio cabinets stand are the stairs coming down to the basement from the upper level. This wall (and the wall to the left of it in the photo) would later be notched out and opened up in order to create a more open feel, and also to make it easier to move furniture to the lower level.
  This is a shot of the same wall (see above photo) that before was closed off with the wall from the stair case. Opening this up created a much more open - feel floor plan and would also make moving furniture up and down more the stairs much easier. Also, note the exposed wooden beam (that eventually was replaced with the newer, stronger steel beam).
 The new beam in this photo has been installed.
  In this photo, again the new beam can be seen. Sheetrock has been installed around it. The sheetrock has also been placed around the gas fireplace.
 Another angle of the new beam and the sheetrocked fireplace.
  After: This is a photo of the completed basement. This shows the cut out in the stairs where the wall used to be. A much more open feel is the result of this expansion.